Piseto
Motivation
Piseto designs gameful group experiences in fine art exhibitions, challenging the creative abilities of the visitors. Through the game, participants are motivated to engage with the artworks in new, resourceful, and personal ways. Most notably, they are encouraged to share their private thoughts and reflections with the group, fostering conversations and social interactions.
Development approach
To support the creation of gameful group visits, from design to delivery, Piseto implements software tools for two different user types: i) Mobile Applications for visitors, orchestrating group activities during the game, and ii) Experience Designer Tools for authors, enabling to create and produce a range of gameful experience designs, tailored to the characteristics of each cultural collection and environment. During my time at Comic I developed the application firstly on Android Studio, but due to the fact that the project was strict on time, we changed the implementation from Android Studio to Unity2d due to the fact that it offers cross-platform development to both Android and IOS
Application flow
When the user first opens the application he/she is first greeted by a splash screen. After waiting 3 seconds then he/she is then moved to the login screen.


On the next screen we see 3 things: a text that states the terms and conditions in order for the user to use the application as well as 2 ways to connect to it: one via Google and the other via Facebook. In order to continue, it must accept the terms of use as well as choose one of the 2 ways of connection. Whichever way he chooses, he registers at the base of the application and the appropriate credentials are sent to the user in order to continue and be able to use it. When the registration is over the application moves to the next screen. This is the screen where the user can edit their profile so that it fits the . His profile consists of 2 things, the nickname and the profile picture. When Google logs in to Facebook for the first time, the app gets that information from the user's profile.
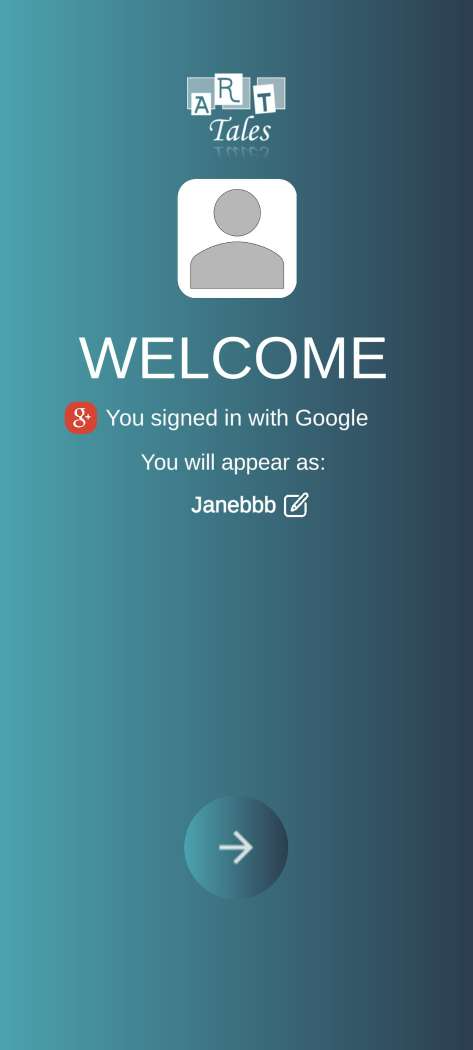
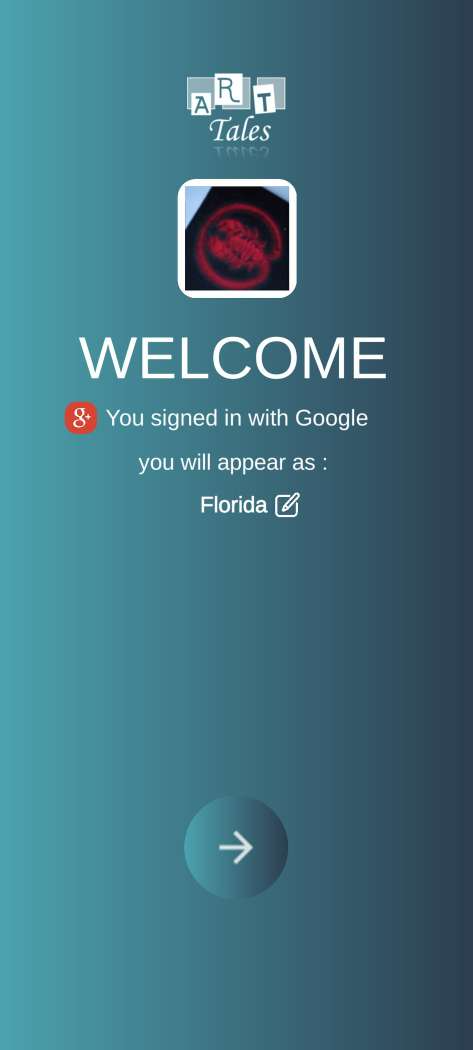
The user can change his name as well as his profile picture. The profile picture can be either one of the default images of the application, or take a selfie.
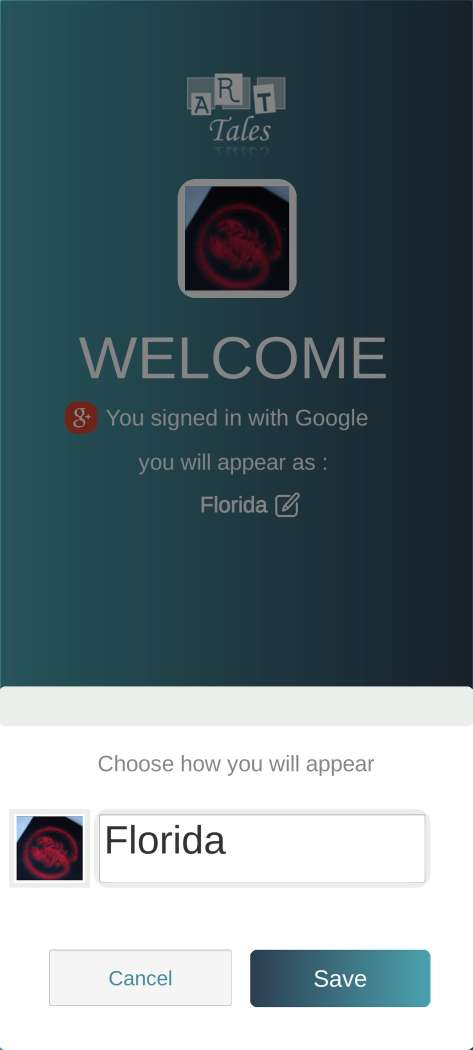
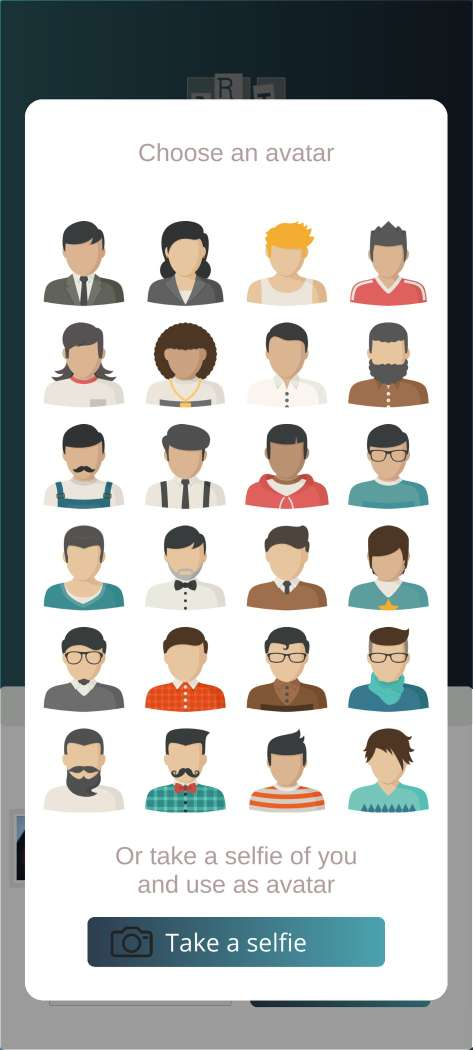
After this screen is the main menu of the application, which contains 5 options: Play Game, Souvenirs, My Profile, Settings, Gameplays.
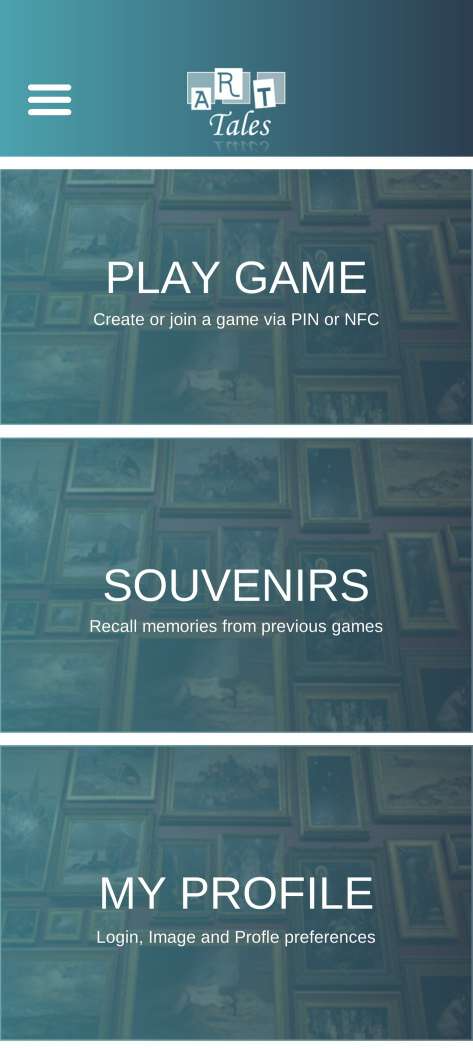
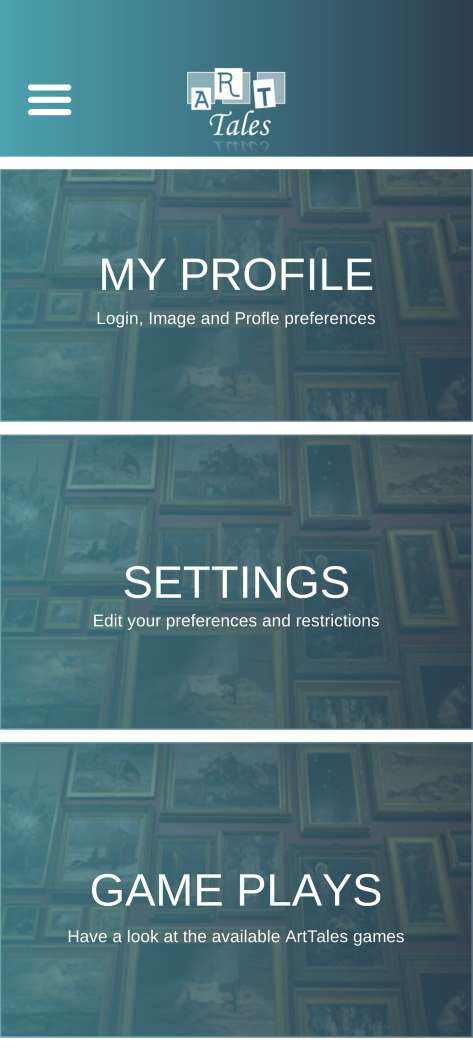
The main menu in addition to these options, has a Side Menu, which can be opened by pressing the three lines on the top left.
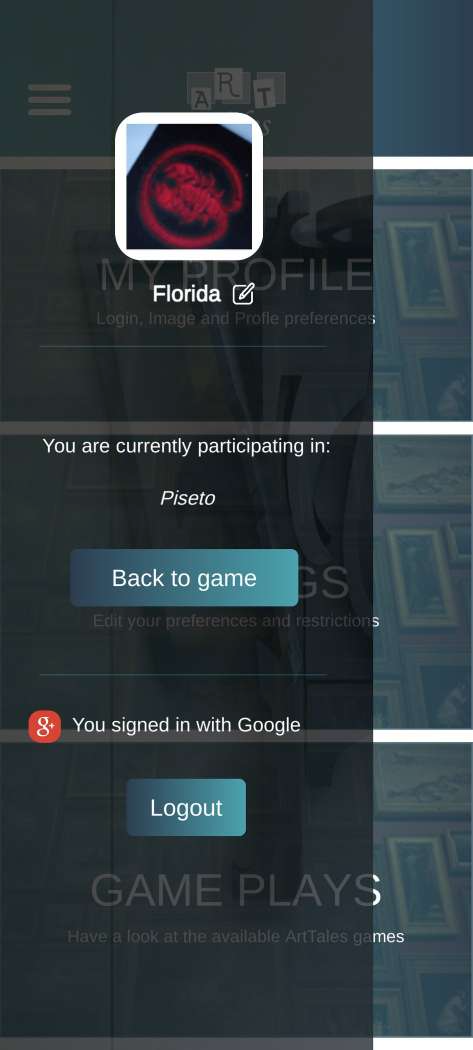
n this menu the user can edit his profile by clicking on either his name or his image. Another feature of this screen is that the user can log in to a previous game he was playing as well as be completely logged out of his profile and application. By clicking on the user to edit his profile, the application refers him to the following screen.
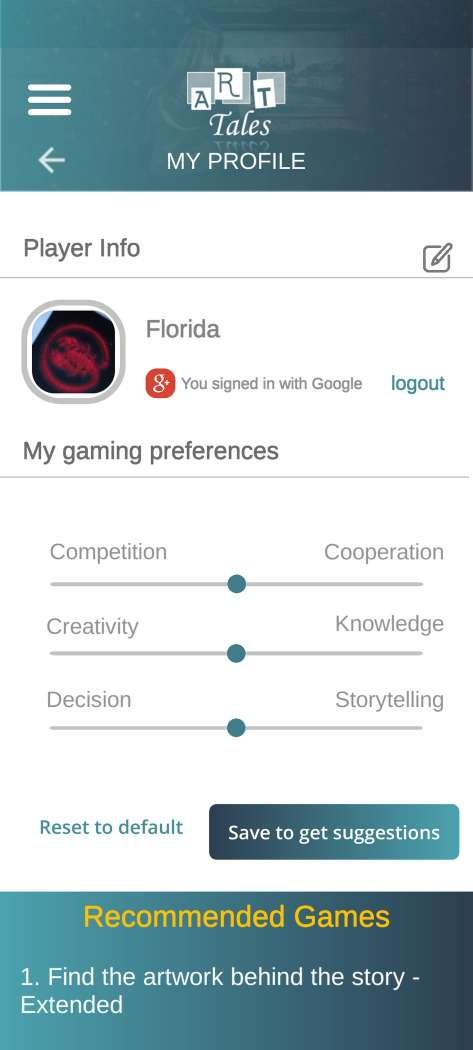
In addition to editing his profile, this screen allows the user to select and save what kind of games he likes in order to be suggested by our system. We will now look at the order of the screens with which a user is playing a game. First select the PLAY GAME option from the main menu.
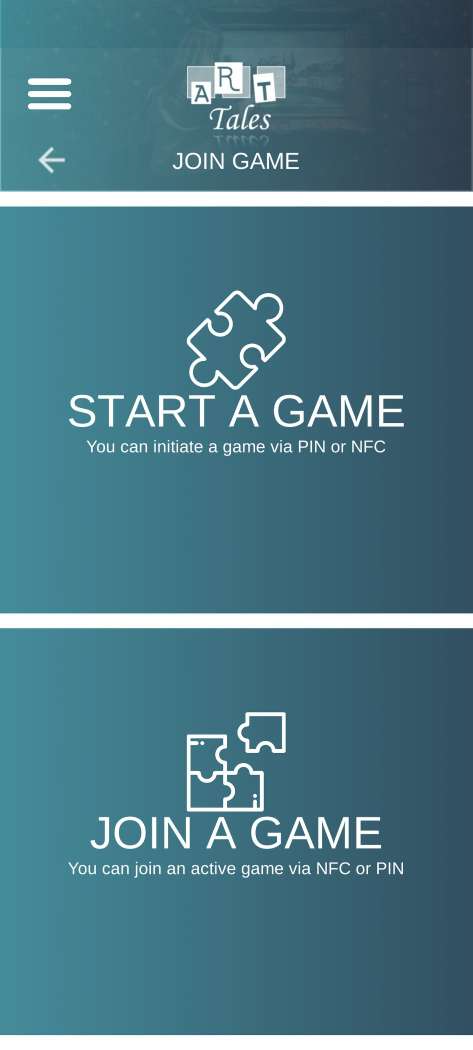
By selecting START A GAME the user is the first to enter a game and will start it himself. Selecting one of the two opens the next screen.
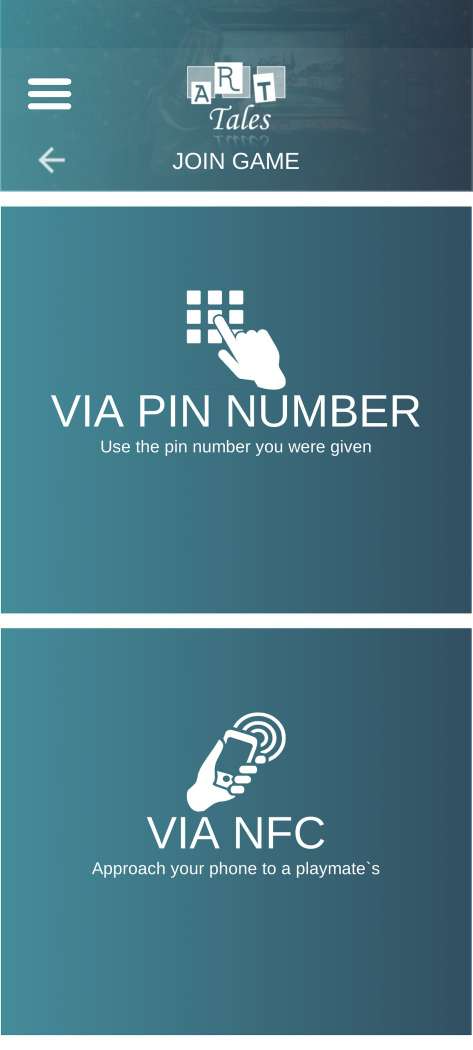
Here 2 ways are suggested to the user in order to enter a game. Either using a PIN that can be obtained through the game website, or via QR Code, which is generated when creating a game. Pressing the first button throws a special keyboard which accepts 6 digits.
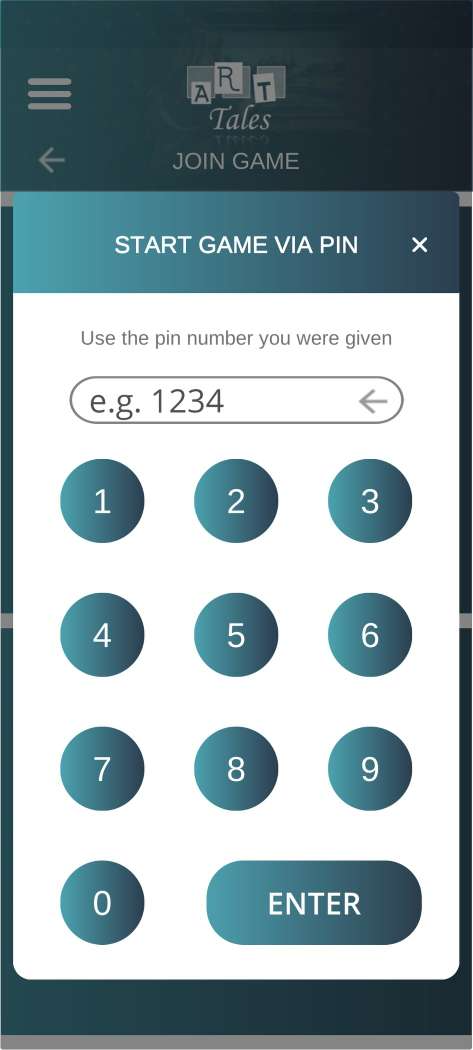
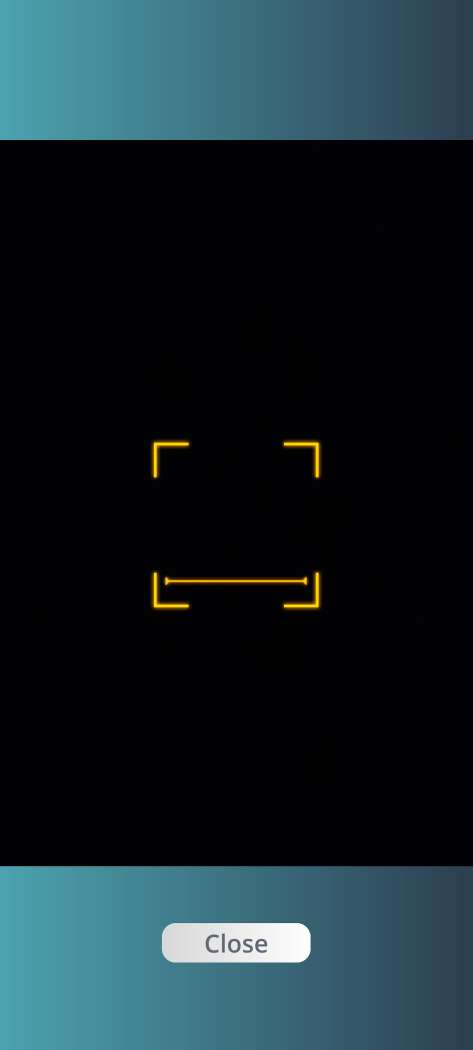
Using one of the 2 ways, the user can enter a game. Upon entering a game successfully, we have a transition screen before entering the main lobby of the game, which also displays the name of each game.
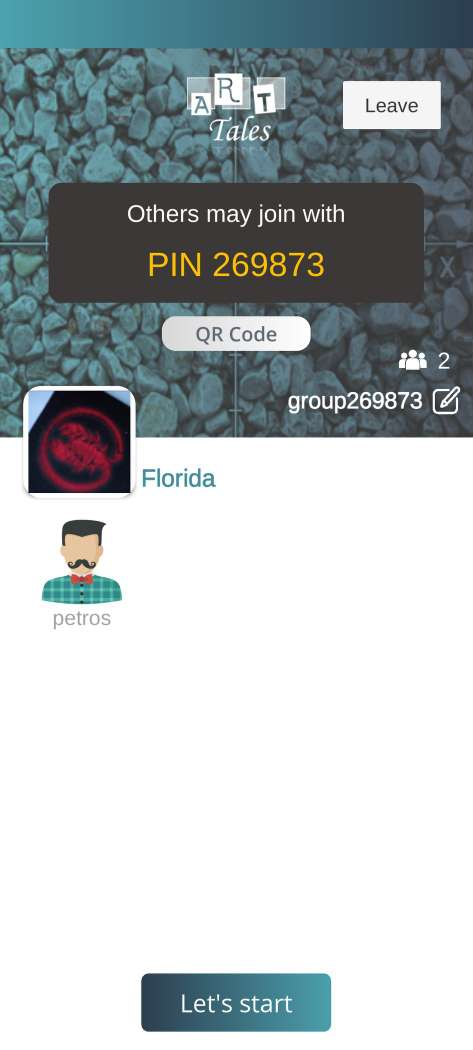
Then we have the main "Lobby" of the game, where each player enters. When a player is introduced to this screen, he appears in the main photo and every other player after him appears below him. In case the player enters first, then he has an extra button that indicates that the game can start. If the user is not the one who starts the game, then the position of the button is replaced by a text that indicates who will start it. It is worth noting that at the top of the screen, there is a button with the label Leave, where by pressing the user can leave the game at any time. Finally, information is provided on how many players play in the game as well as the name of this group of players. At this point, the app communicates with our database and gets information about the players and whether the game has started.
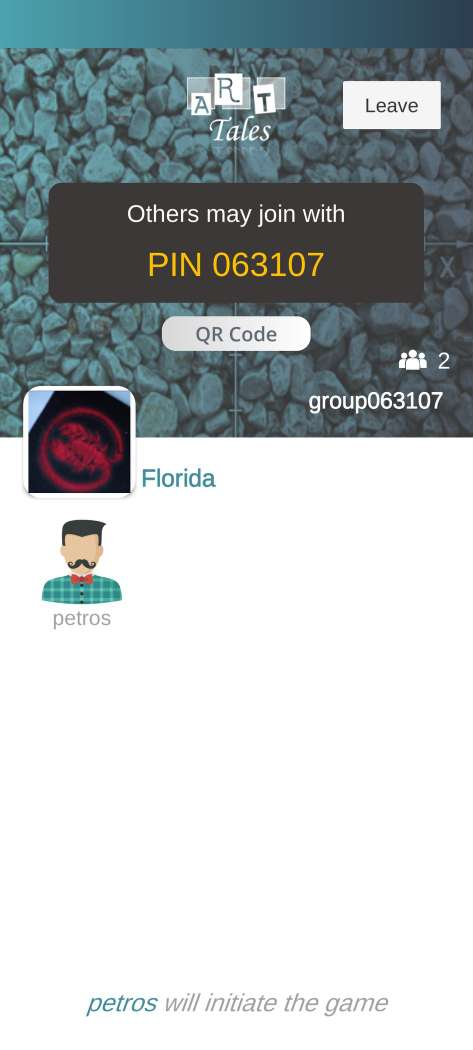
After this screen, the main flow of the game begins. There are 2 gameplays: Storyteller and Voter. In order for the game to proceed to the next round, each player must become a narrator at least once. First of all, we will describe the game flow in the case of the narrator.
Narrator
The first screen of the Storyteller is the selection of the exhibit for which he wants to narrate the story. The user receives the exhibits from the database via an API and these are placed accordingly on cards. By Swiping the user can move around and see the exhibits for which he can create a story. The maximum number of exhibits in each round is 20. Each exhibit is presented in the form of a card, which contains its most basic information such as: Image, Artwork Name, Artist, Date
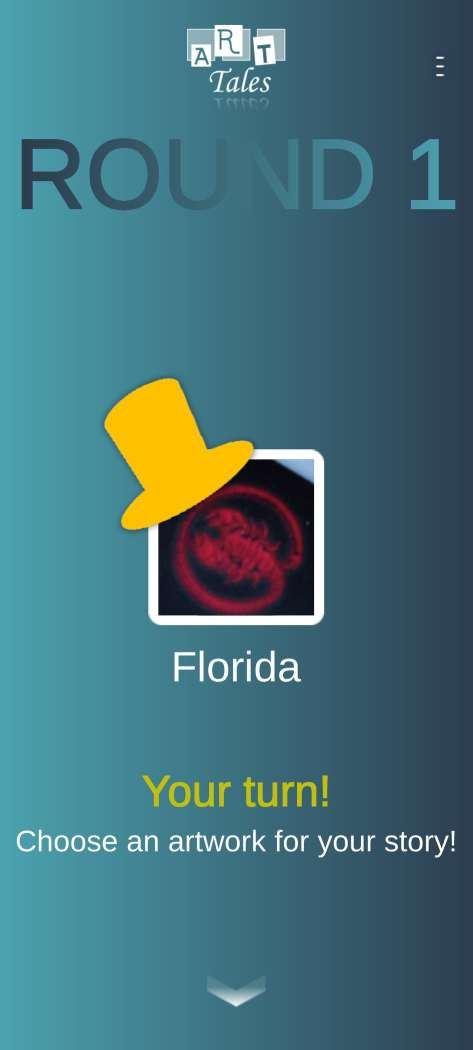
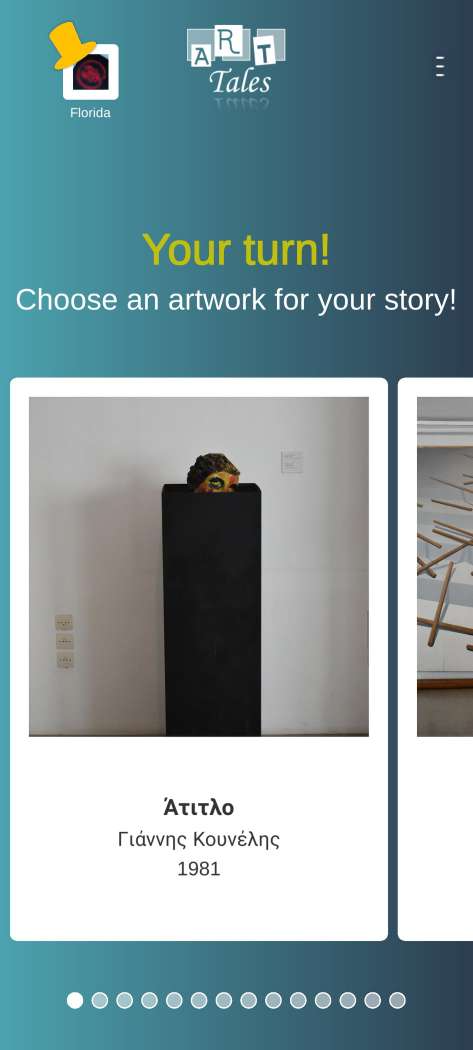
It is worth noting that in the game we can set parameters such as time, and as a result a yellow bar appears that defines the time.
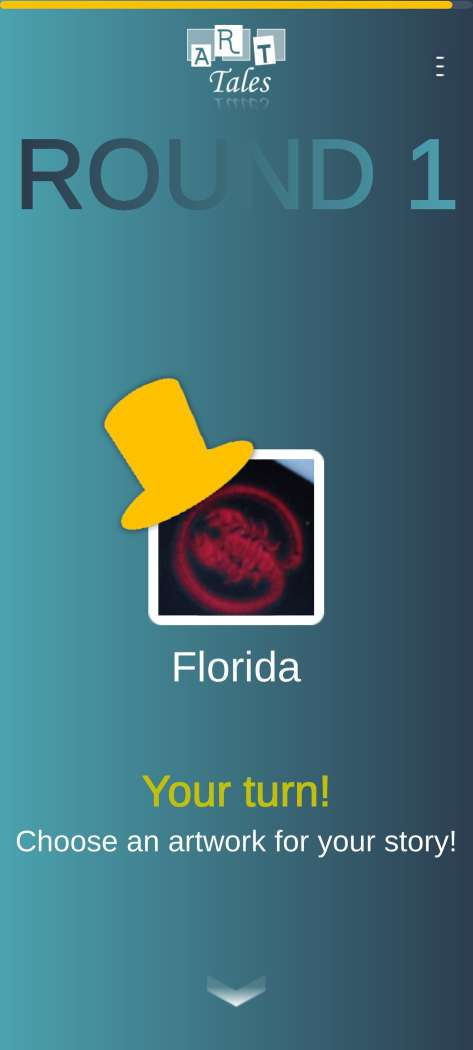
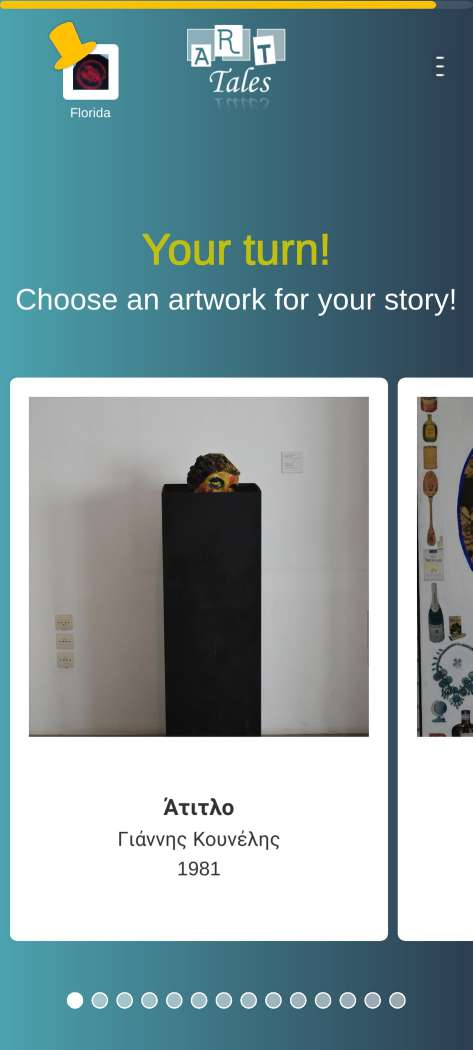
Clicking on one of the cards displays the following screen:
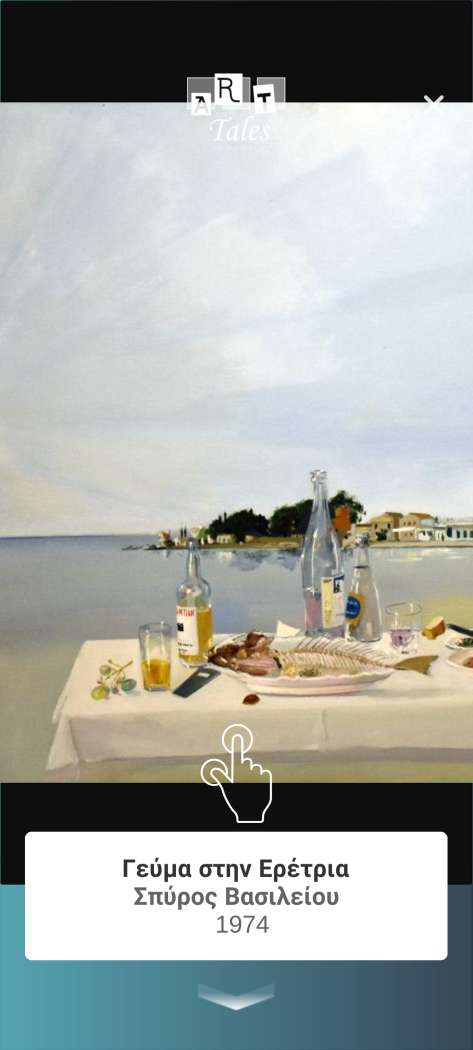
This screen lists all the previous information that were listed in the cards, with the difference that the photo is much bigger and that in case the exhibit has information, from the databse, we list it as well. Inside this screen, there is a button that says "I am done. Call Everyone." When the user presses this button then the database is informed of its action and sends a message to all other users that the narrator is ready to tell his story. On the next screen the user by Swiping in any direction, informs the database to send a notification to all the users that he/she is ready to announce his/her story.
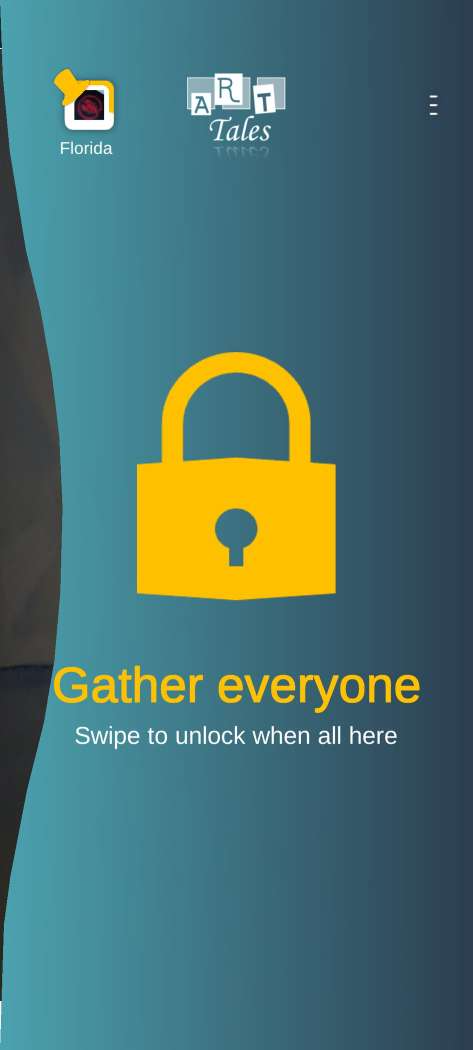
The next step after Swiping, is to narrate the story, with the help of the following screen. In the next screen the artwork is hidden, but when the user presses the center button, then it is revealed so he/she can be reminded of the story he/she is thought of.
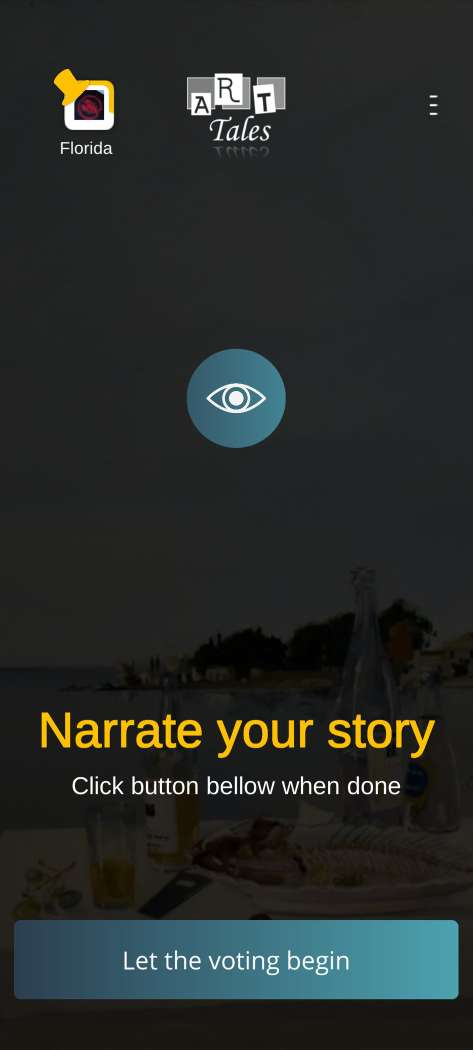
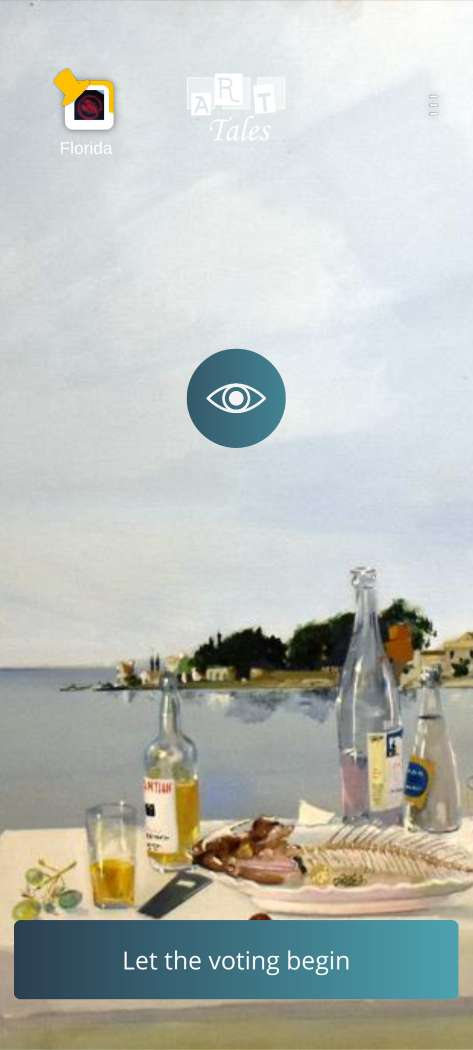
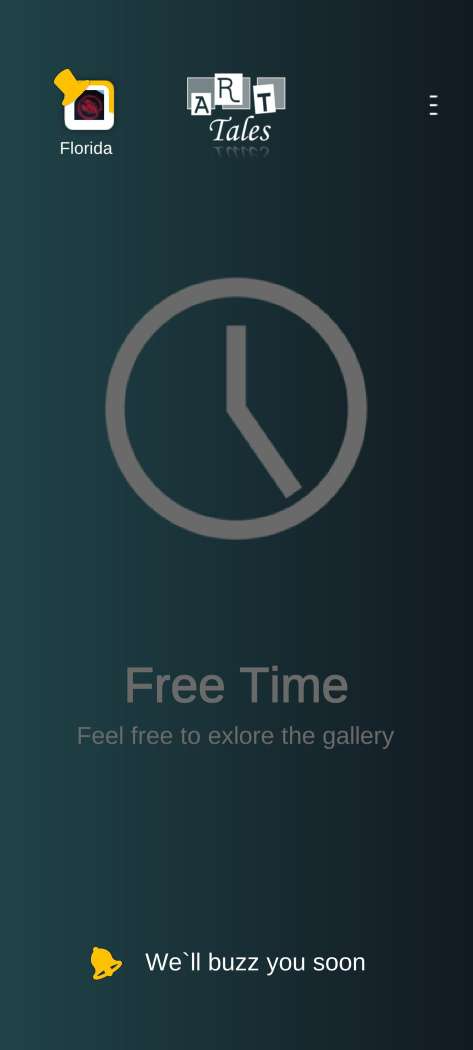
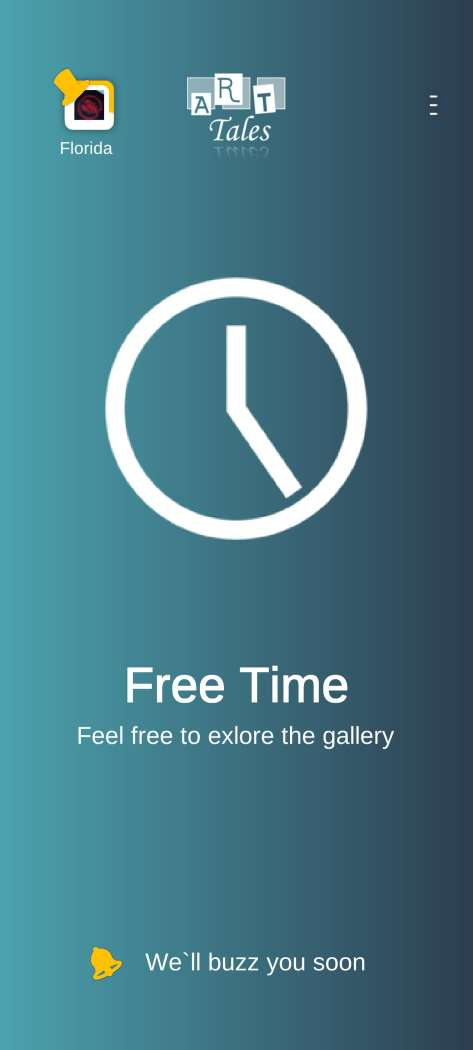
Having finished his story, the narrator now has free time. In this free time, depending on the game preferences, can enjoy some mini-games that will help pass his/her free time more enjoyable and also earn some extra points. The free time screen also appears dimmed in the second picture, so that the user is not encouraged to look at his/her phone but rather at the gallery that he's currently in.
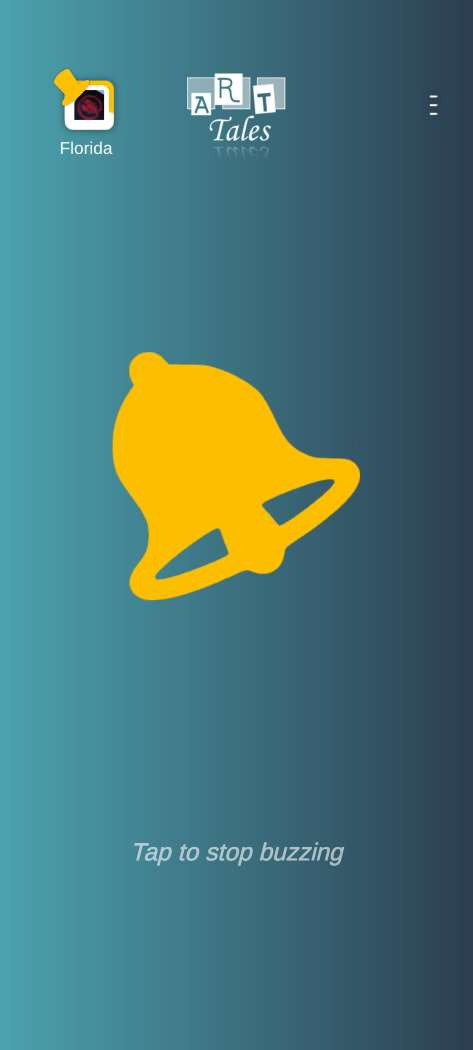
When all users finish voting the exhibit that they think the user has selected, it is time to announce the results. Instead of just a notification a special screen is used requires user input, in order to make sure that he/she is alerted. This screen buzzes and rings and by touching it, it stops.
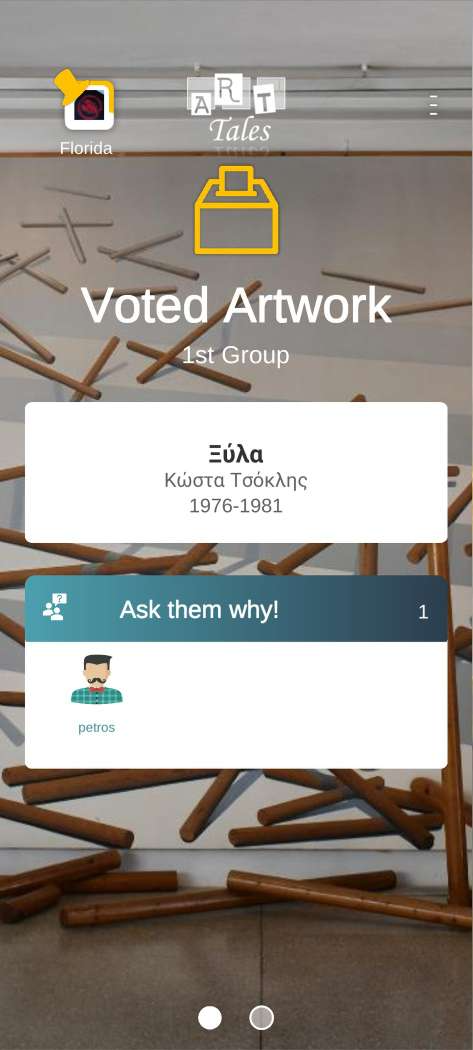
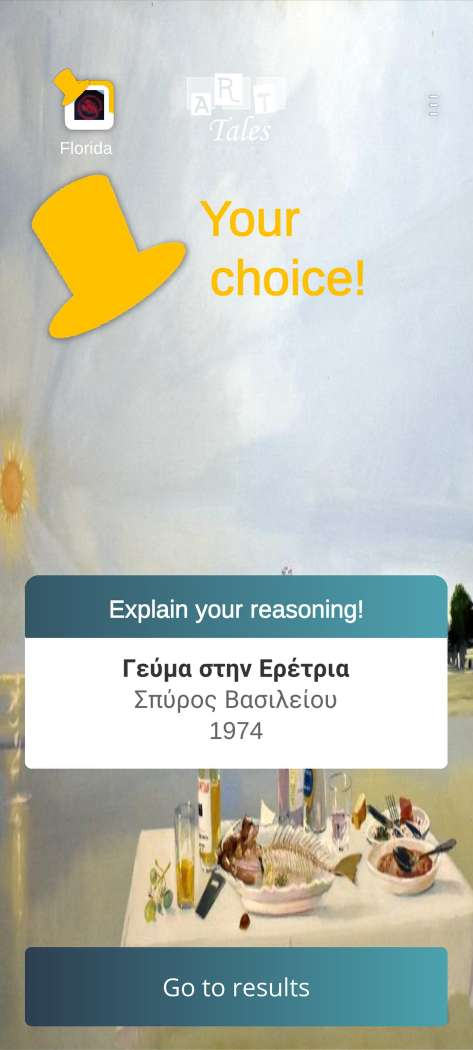
In order for the Storyteller to reveal the votes he/she must swipe one last time. After swiping there is a sequence of pages that shows what each player voted for. The last page shows the artwork that the storyteller has chosen.
The last page that is the result pages. It contains two categories, the first one, is a display list who shows who found the storyteller's artwork and the second one the total points for each player.
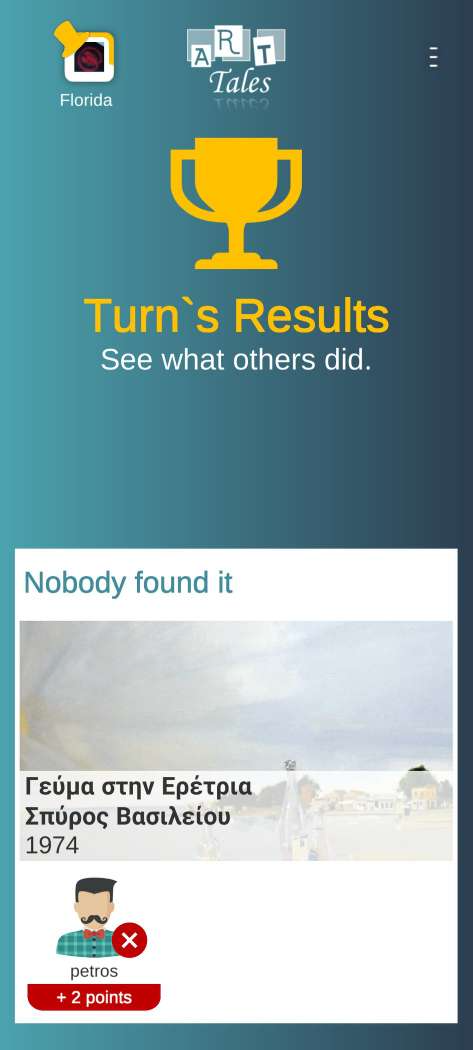
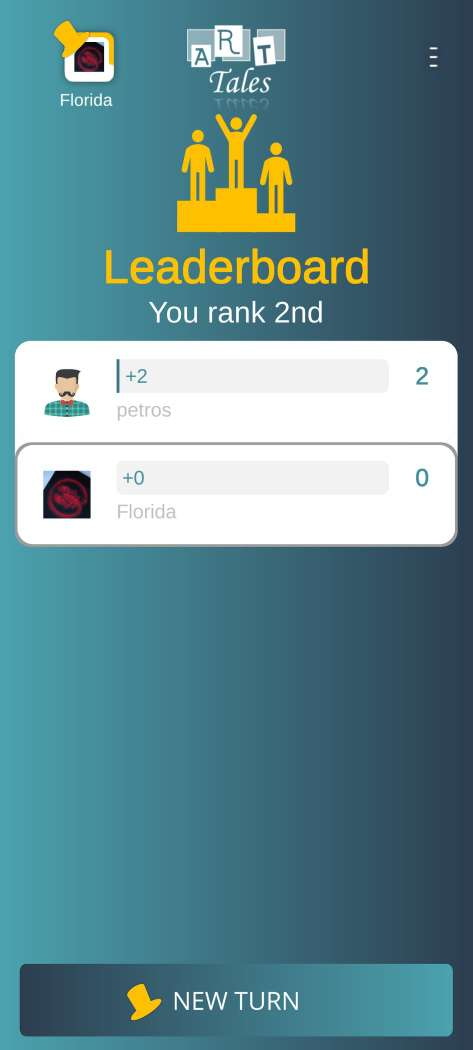
Pressing the "New Turn" button, we move on to a new round and the narrator becomes a voter. When all the rounds are completed then this button takes the user to the screen with which he can take out and hold a digital souvenir.
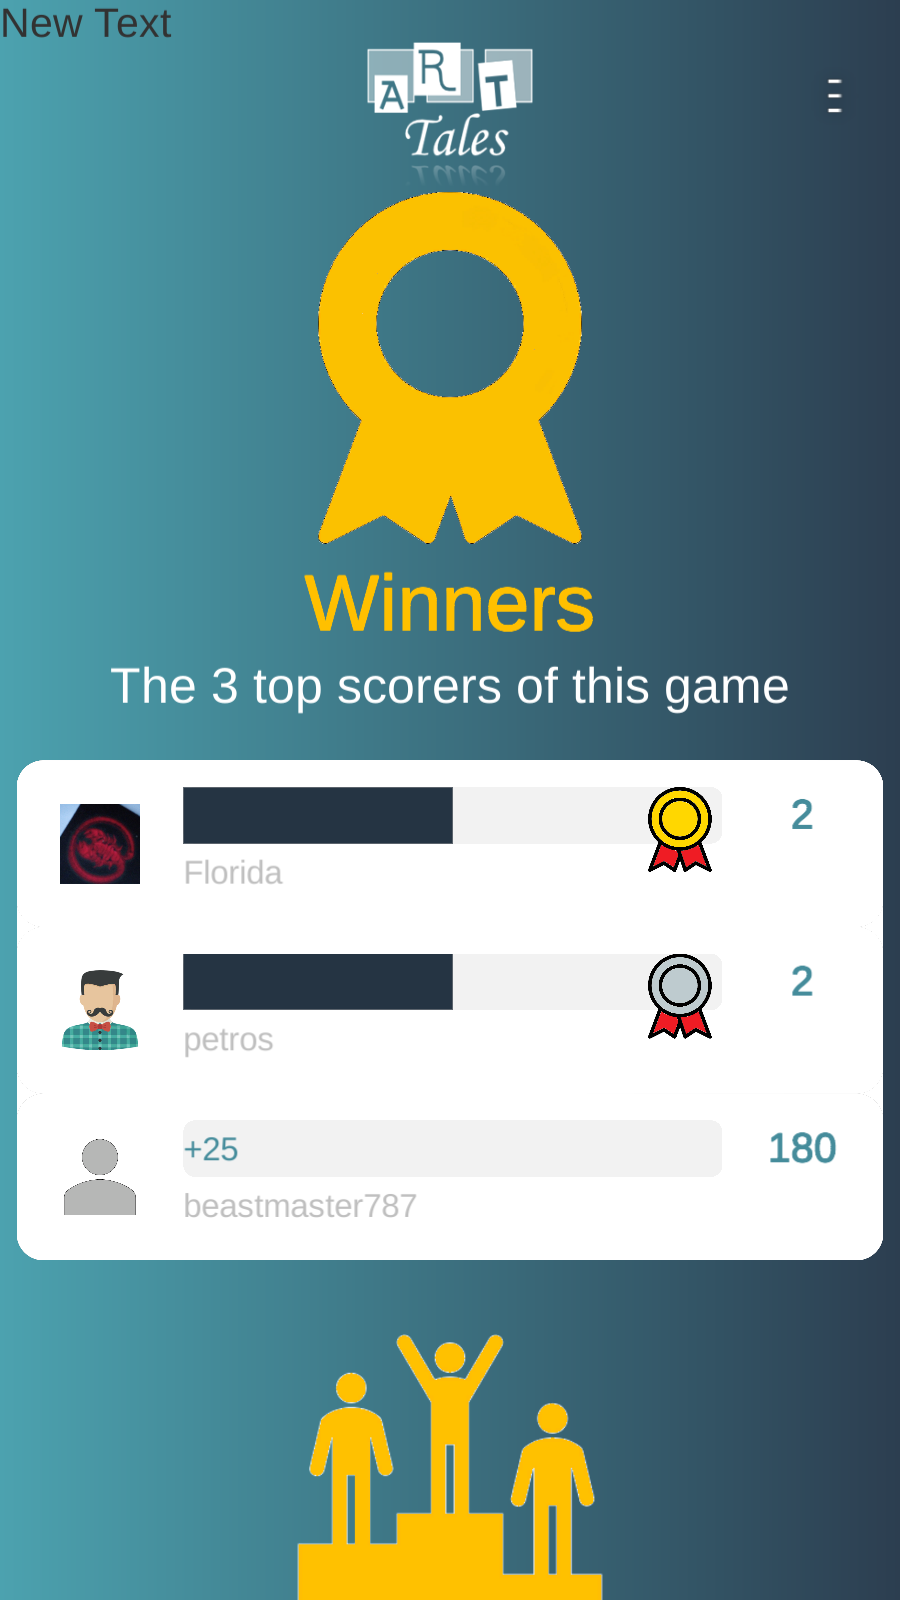
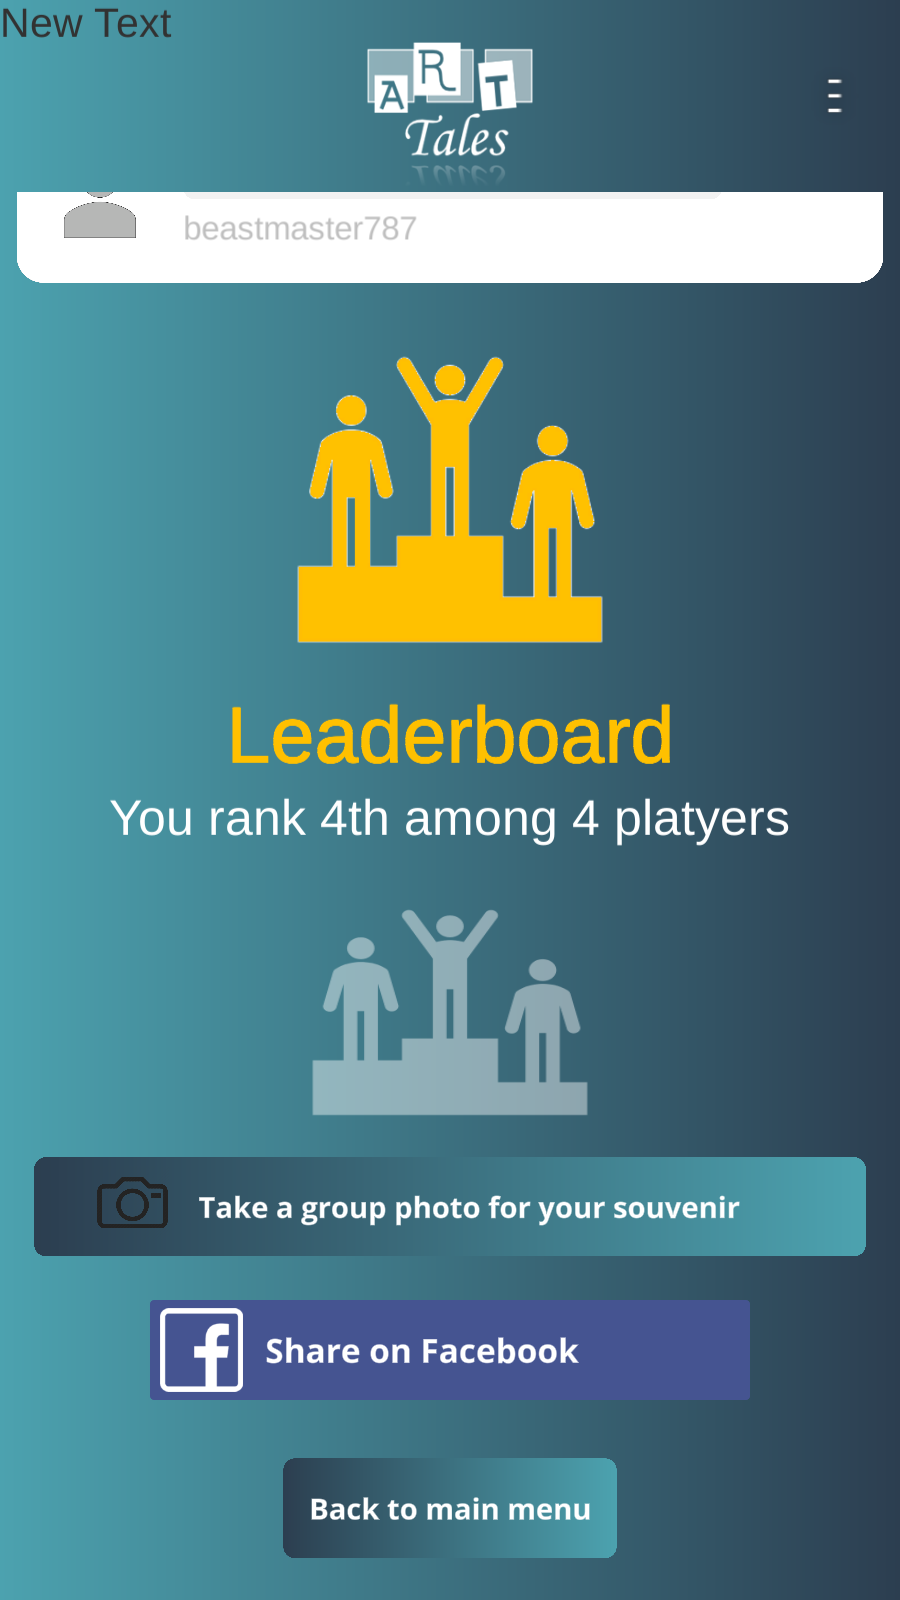
The digital souvenir consists of two parts. A photo, usually of the group playing the game or of some people as well as some boards that were used in the game. When the user chooses to keep a souvenir, it is stored in the database and made available to all users who have played this game.
Voter
Now it is the time to describe the application flow of the voter. The screens that I am going to describe now are in parallel with the storyteller's. When the storyteller is trying to select an artwork that he/she is going to make a story, the voter has its free time. But before announcing the free time, the first screen announces to the voter, which player is the storyteller.
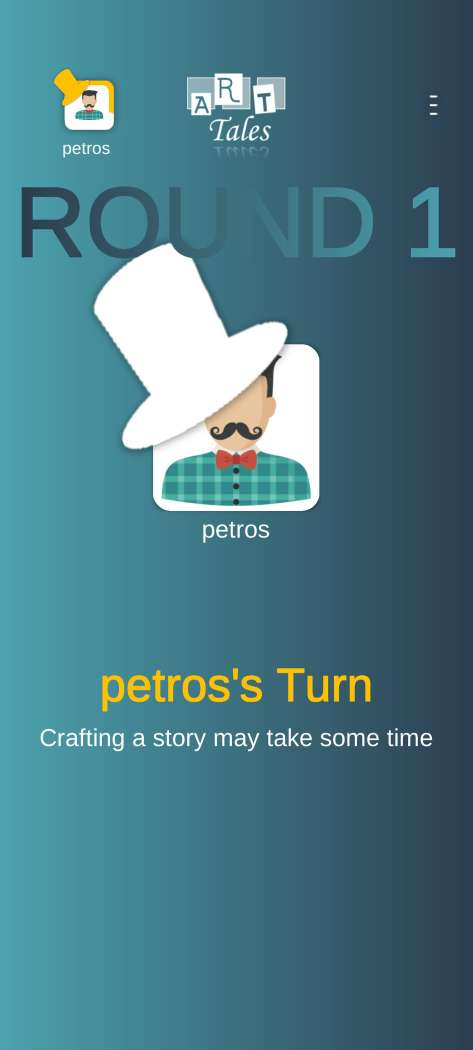
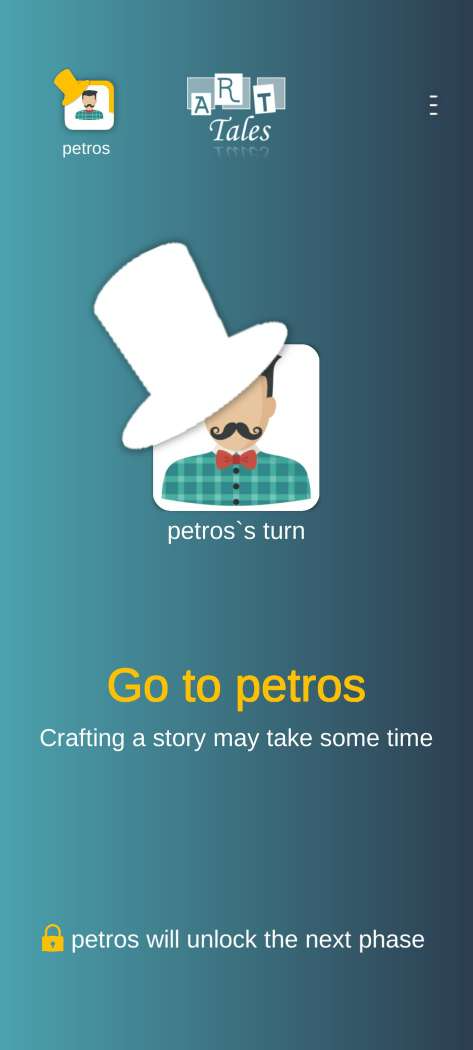
The next screens are explaining to the voter what the storyteller is currently doing. The first one appears after the ringing screen and tells the voter that the storyteller has finished the story and to go to him/her in order to hear it. The second screen highlights to the voter that the storyteller is announcing his/her story and the voter should pay attention to it.
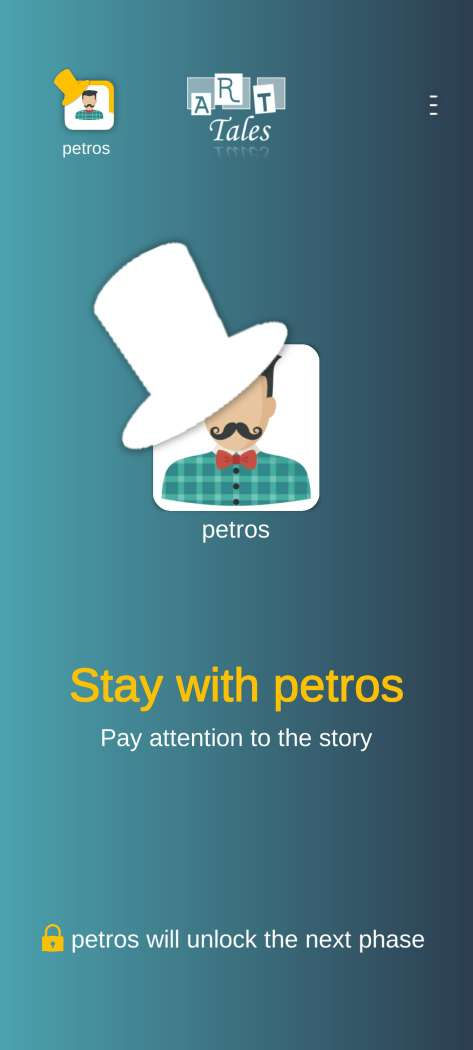
After finishing with the story, it's time for the player to vote. The voting screen is shown in the next images. When the user scrolls, an scroll animation of the image plays the page of all artworks appear.
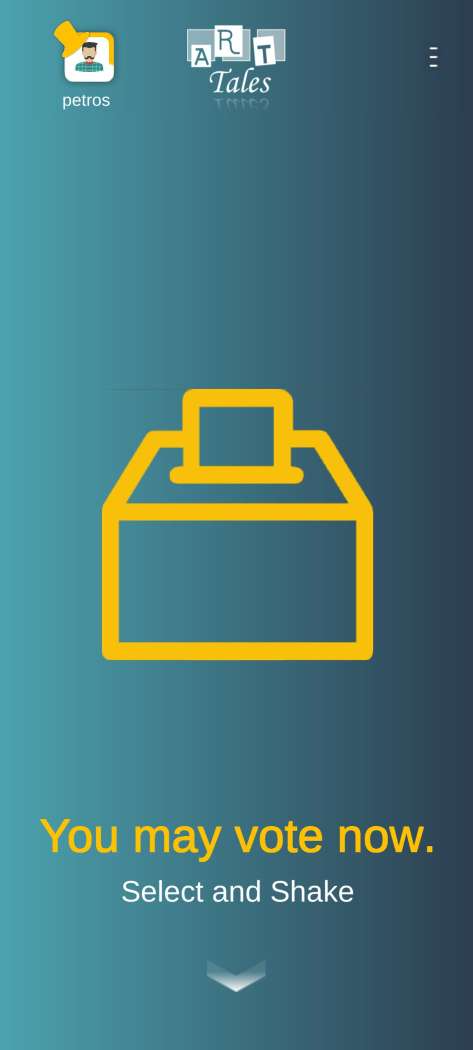
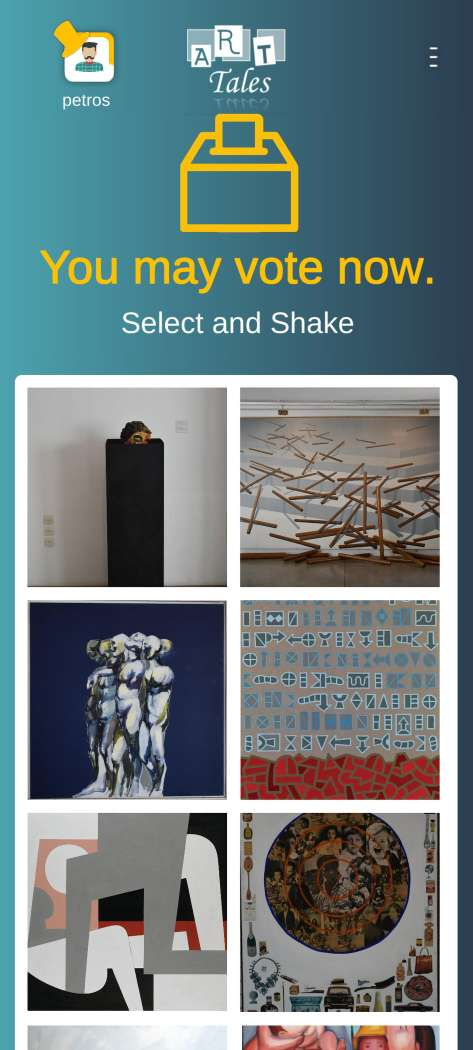
In order to vote for an artwork, the user must first select an image. When he/she selects one, the following window appear.
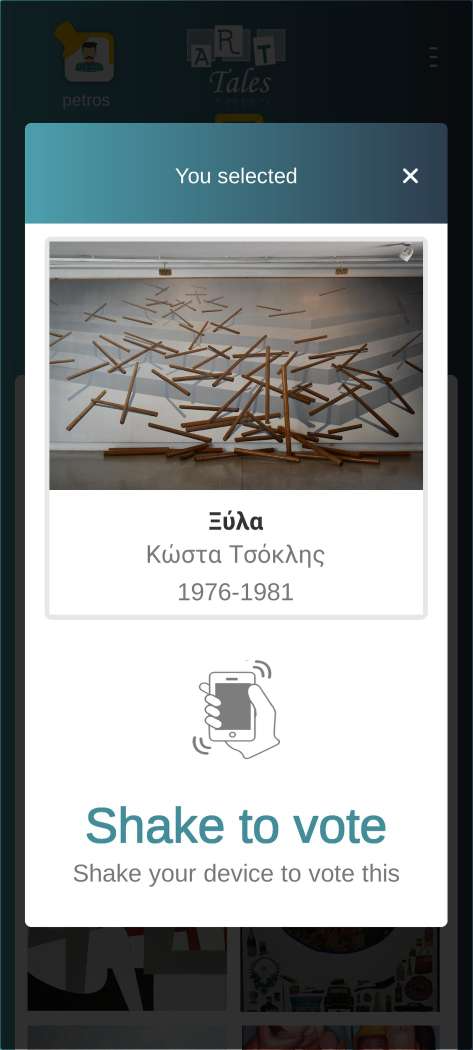
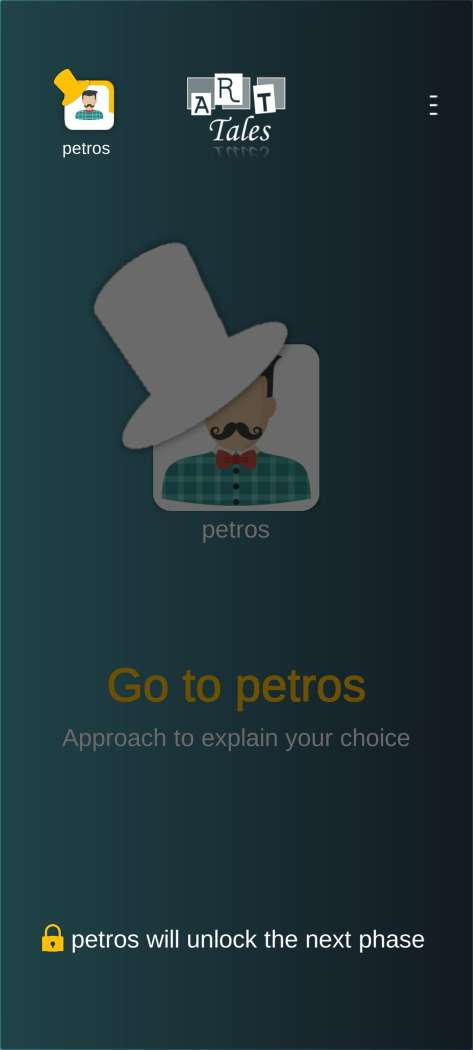
In order for the user to vote the selected artwork, he/she must shake the phone. When all the users are finished voting, then all users are transfered to the ringing screen. The purpose of the ringing screen as described to inform all the player that the voting has ended. Then the next screen, informs the voter to go to the storyteller in order to announce the results. The dim of the screen is so that the users would pay attention to the storyteller that is speaking and not look at their phones.
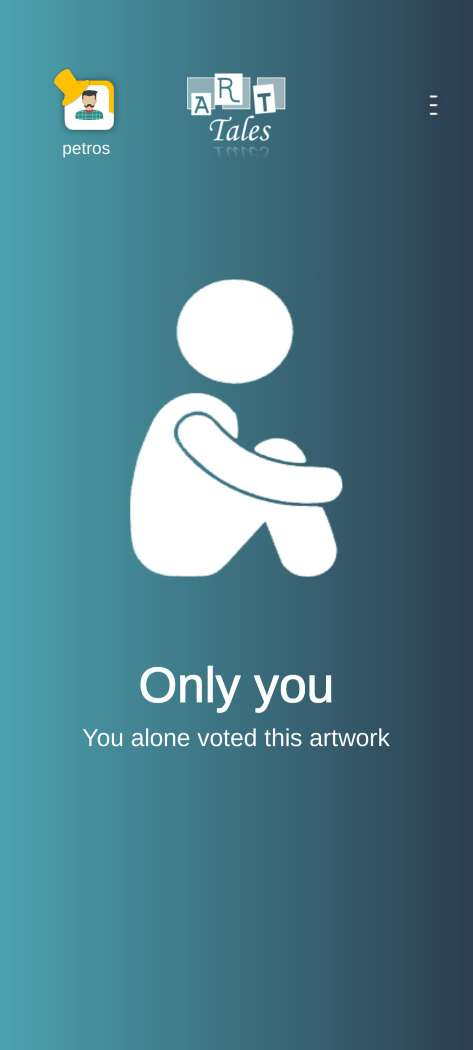
When the storyteller swipes to unlock the results, the voter doesn't see the same images but rather the he/she sees whether he/she is the only one that voted the artwork or there are others that voted the same as him/her.
The last screen that the voter sees are the results, which is the same screen as the storyteller.
Souvenirs
When a game ends, as mentioned earlier, the application is able to create digital souvenirs that the users can take. The screen that the users are able to configure their souvenirs appear after the game finishes. There are two options, create a souvenir with or without a group picture. A user can access the souvenirs while on the main menu by clicking on the tab Souvenirs. When clicking the souvenir tab, a list of all the available souvenirs appear.
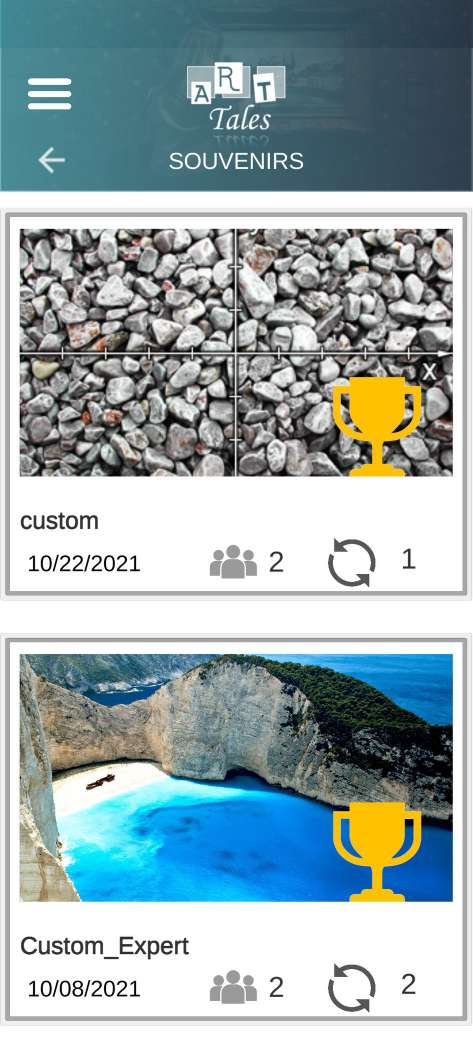
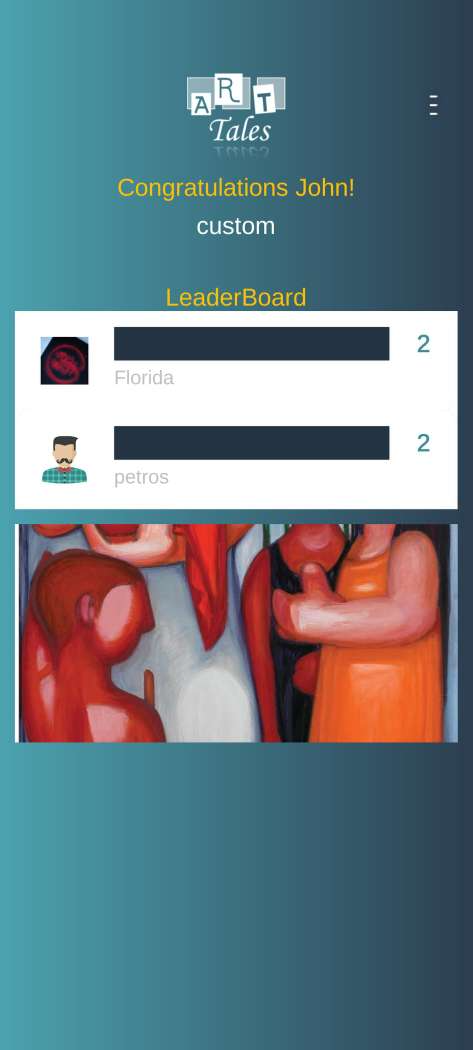
When the user clicks on an item list, the following souvenir appears. This souvenir does not contain a group picture. It basically shows some artworks that the game included along with the leaderboard.
In Game Menu
Due to the fact that Piseto is a mobile multiplayer game, it also needs a in-game menu for extra functionalities. The menu is on the top right of the application when the user enters the game and it is activated by pressing them.
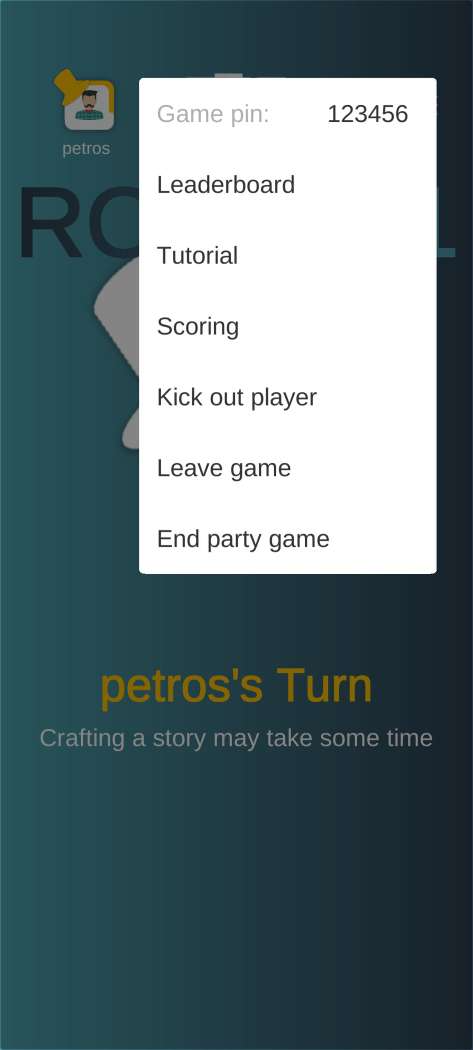
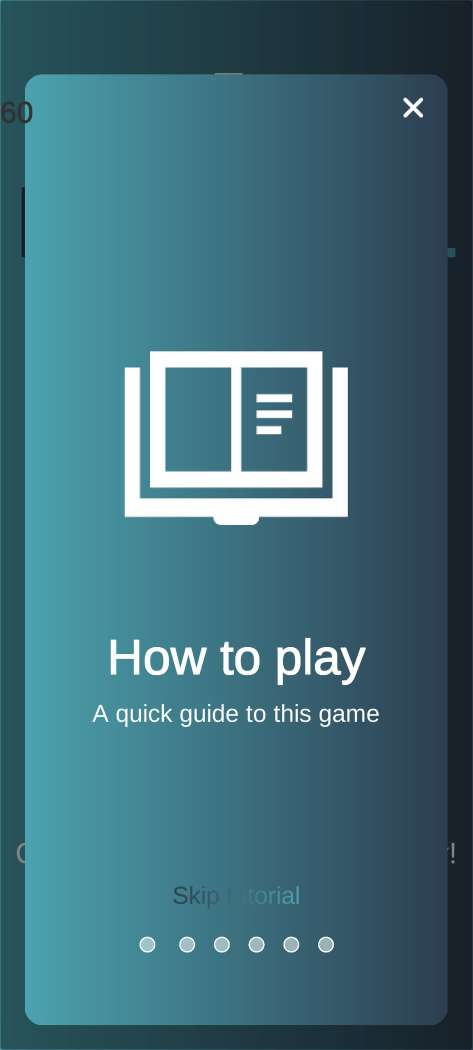
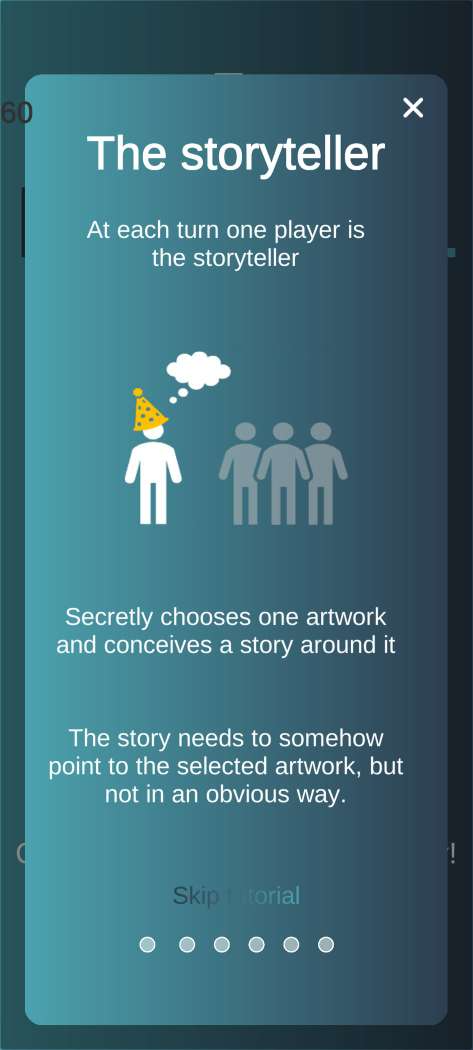
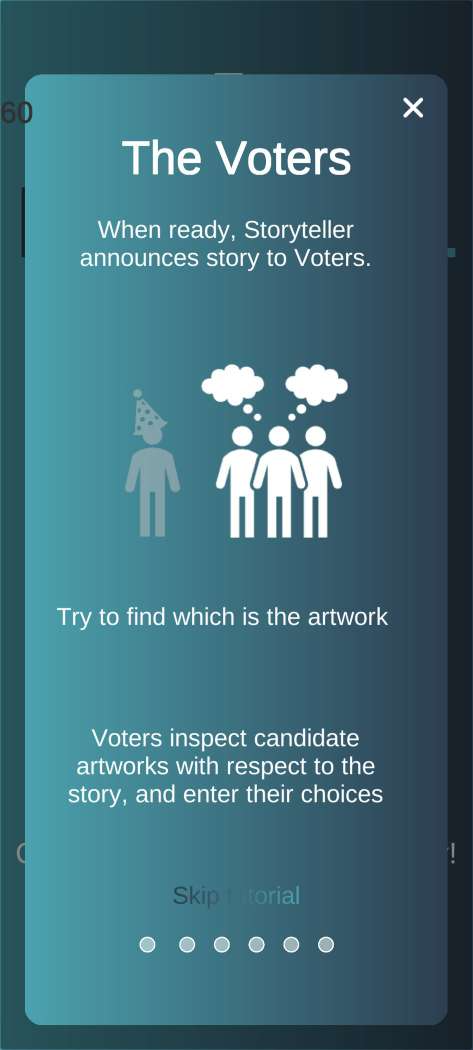
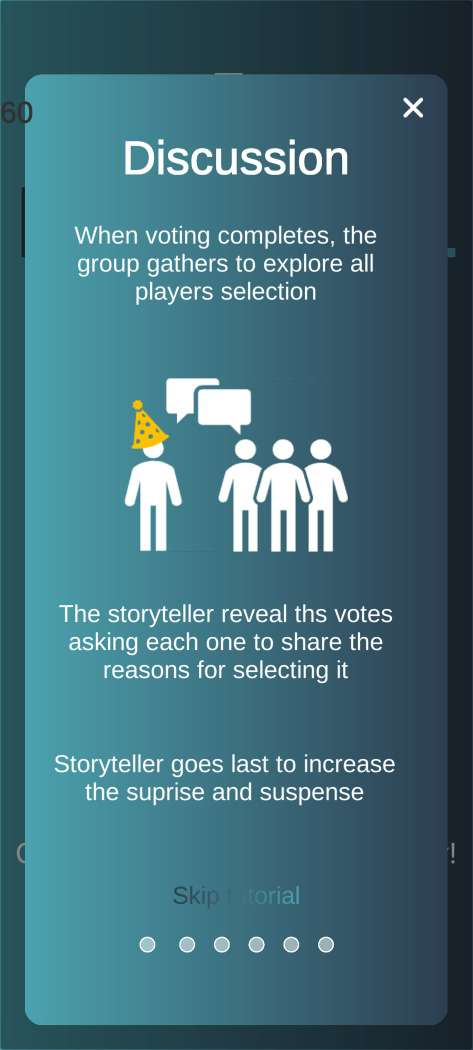
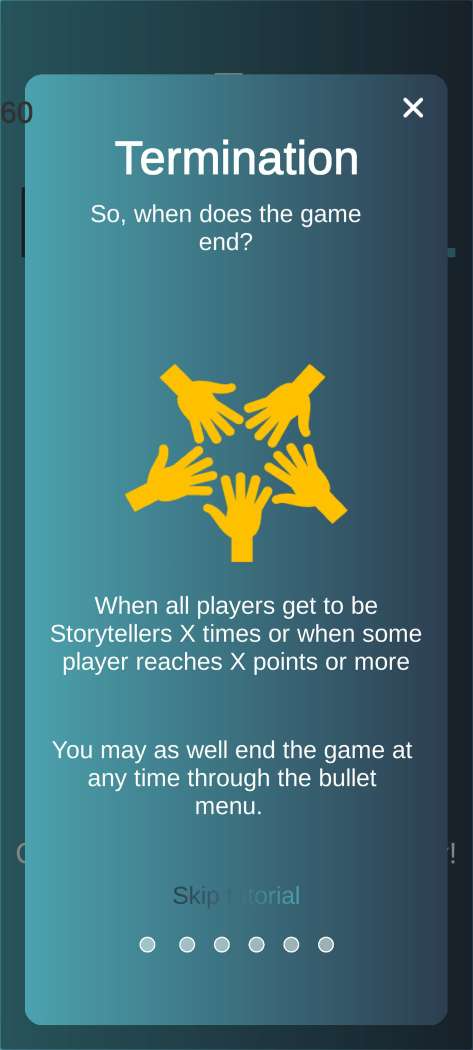
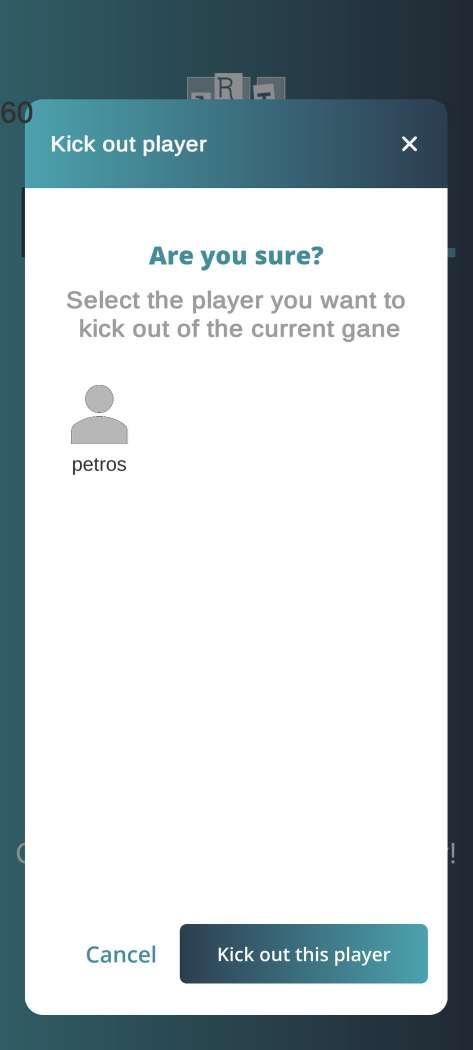
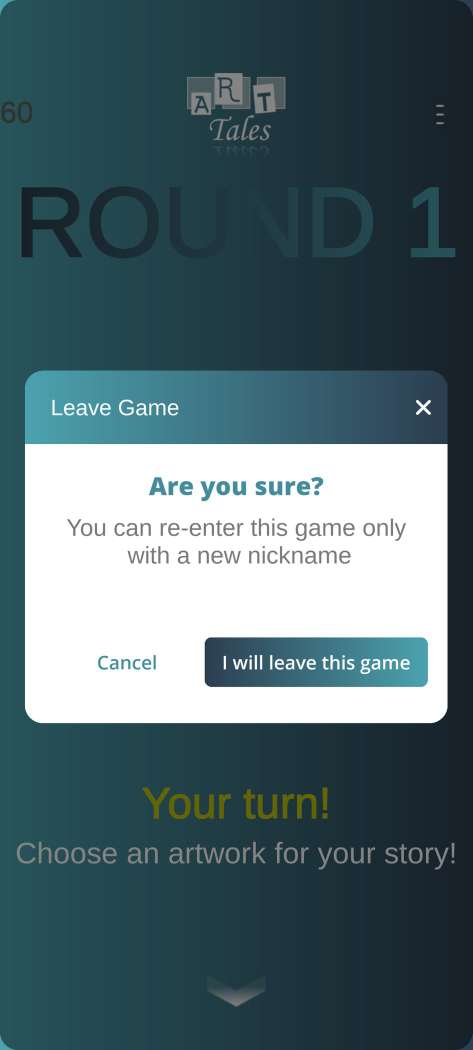
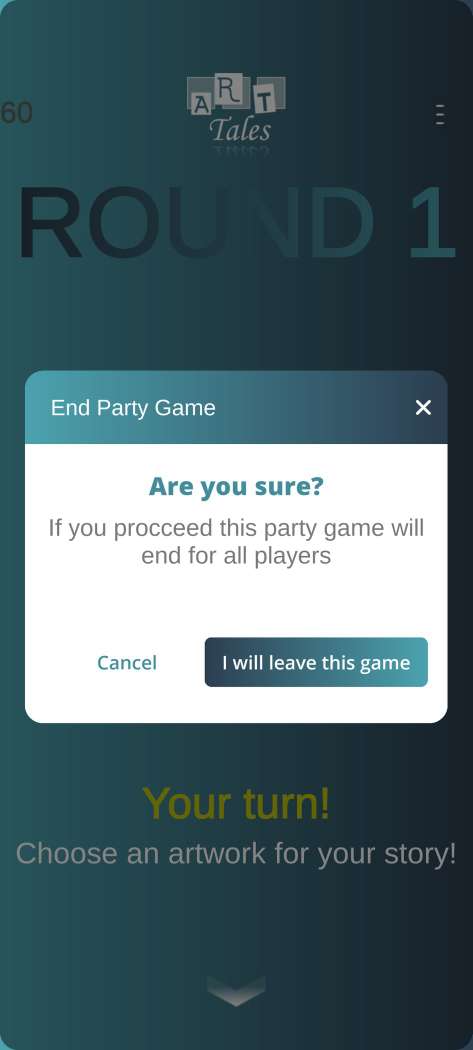
Then we see 6 options in our menu: Leaderboard, Tutorial, Scoring, Kick out player, Leave Game, End party gameThe Tutorial tab shows how the game is played in case a player wants to access in any point of the game.
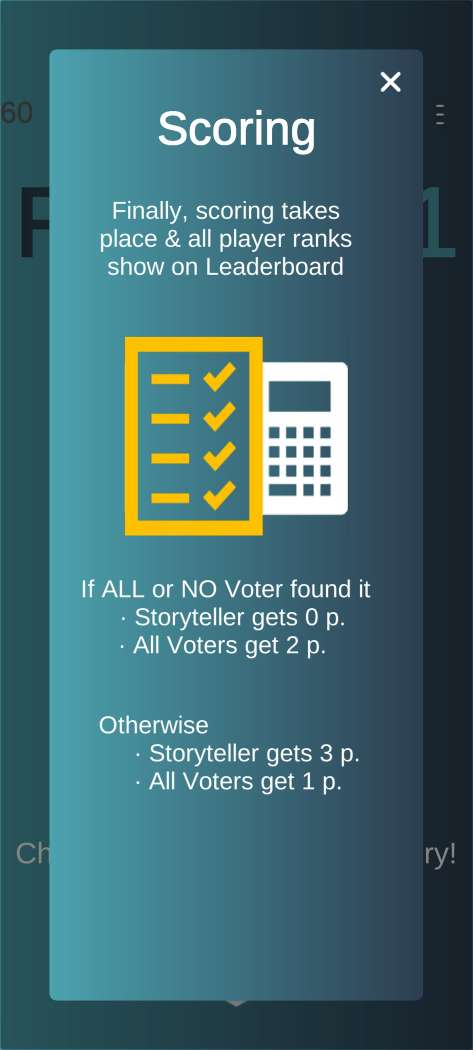
Then in case the player wants to know how the scoring is calculated he/she can find out by clicking at the scoring tab.
The last 3 screens are used for actions, meaning kicking a player in case it is stuck or run out of battery. An option to leave the game and one to end the game.
Libraries Used
Due to the fact that Piseto was a very complex project since it involved a multiplayer game logic and the backend was completely handled by us, it required some libraries in order to function properly. The first one being Firebase online database. Firebase helped us with the notification system in any major point of the game. Also through the data that was being sent from Firebase we were able to rejoin the game in multiple instances.

In order to succesfully register a user to our database, we used third party authentication in order for our authentication to be more secure. We used Google & Facebook third party sign in.


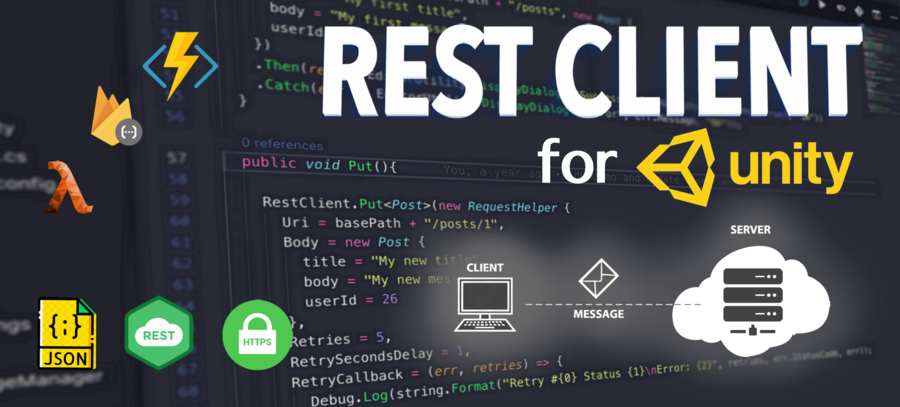
The last two libraries that were mostly used throughout our project, were Unity Assets. The first one is a well known library for making API calls simpler, it is called RestClient
The last library is helped us created fancy elements on the screens that I showed throught the application. It is called Modern UI Pack
